For my grandpa's birthday, I found a heart cake on Pinterest that looked simple enough (and it was from a box).


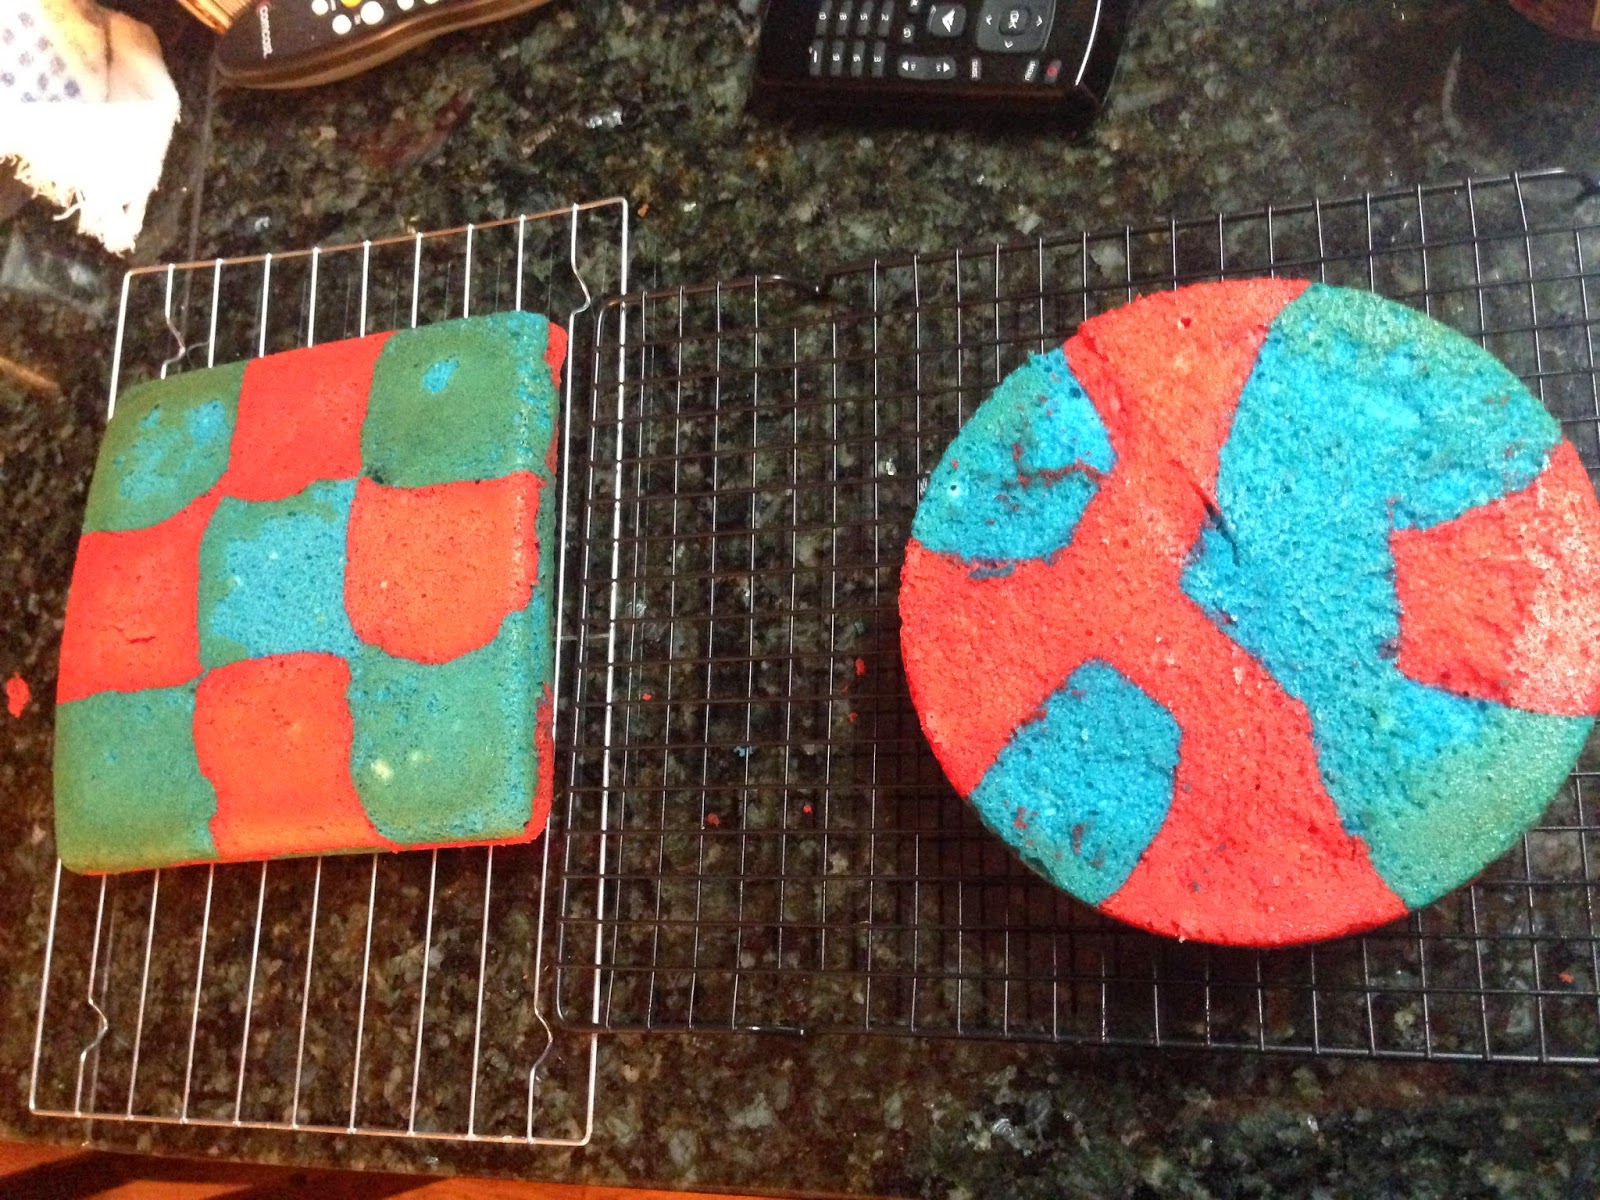
The heart cake was pretty easy to put together. You just need an 8x8 square pan and a regular cake pan. You cut the circle in half, and place the two halves on the edges of the square cake. Easy peasy.


I made mine with two layers. When you do make it into two layers, just a warning if you decide to make this for yourself, it is a GIGANTIC cake.

The only issue I had was that you could kind of see the crack where the half circles were placed next to the square, even after I frosted it. So I decided to do a little ad lib decorating with the leftover frosting. If I made it again, I'd have a better decorating plan going into it to make sure the cracks aren't visible. It may not bother you, but it bugged me. A great deal, actually.


Here was the final product!


So then I really caught the baking fever, and decided to make some sugar cookies. The recipe for these was also really simple. I'm not sure exactly how many this recipe makes because I was playing around with different thicknesses for my cookies. But it made minimum 30 cookies, and the maximum would be about 4 dozen. Sorry I can't be more specific!
2 3/4 cups all-purpose flour (I recommend using a little more)
1 teaspoon baking soda
1/2 teaspoon baking powder
1 cup butter, softened
1 1/2 cups white sugar
1 egg
1 teaspoon vanilla extract
Step 1: Preheat oven to 375 degrees F. In a small bowl, combine flour, baking soda, and baking powder. Set aside.
Step 2: In a large bowl, cream the butter and sugar together until smooth. Then beat in the egg and vanilla (I used a hand mixer). Gradually add the dry ingredients.
Step 3: Roll out the dough and cut out your shapes. I tried to keep my dough on the thicker side, for thicker cookies.
Step 4: Bake in the oven for 10 minutes, or until golden brown.


My mom got this Kitchen Aid hand mixer for Christmas, and it is awesome. I need one!


My dough didn't come together with the mixer, but I formed it into a ball when everything was nicely combined.


I recommended using a little more flour because I found that the cookies I put in the oven last, AKA: the ones that had been rolled three or four times and had more flour added to the dough from the rolling out process seemed to hold their shape much, MUCH better than the first ones. I haven't actually tried adding more flour yet, but when I do, I will let you know how it goes!


Next up: Royal Icing
I've tried several recipes, and different variations of recipes. I haven't quite found the perfect one yet, but a couple of the ones I used worked very well. Still trying to perfect it, though!
The first recipe I tried, was this one... Maybe I did it wrong (I don't think so), but it did not work. Sorry, Alton Brown, but I was unimpressed. The icing never really hardened. Well, that's a lie. About four days later, I can say that it had finally hardened. Sorry, but I don't have that kind of time to wait around for my icing to harden. Anyways, I added about two teaspoons almond extract to my icing so it would taste better.
The second recipe I tried was this one:
3 egg whites
4 cups confectioners sugar
1/2 teaspoon cream of tartar
(I added about 2 teaspoons almond extract, you could also use vanilla extract)
Makes 2 1/2 cups
Beat all the ingredients together at a high speed for 7-10 minutes. You need to use it immediately, storing it for later will not work. I wanted to use two different colors, so I cut the recipe in half and beat it for about 4ish minutes. If it seems too thick, you can gradually (very, very gradually, like a teaspoon, possibly a little more, at a time) add warm water to make it easier to pipe onto the cookies. I used a Ziplock bag to pipe. I definitely need to invest in some piping bags!
This recipe was soooooo much better than Alton's, but I don't love working with raw eggs... So I tried a variation of that one. I started reading up on royal icing, and I read that you could use Meringue Powder in place of egg whites, so I tried it.
On the can, it said that 2 teaspoons meringue powder + 2 tablespoons water = one egg white, but I would like to say that I tried this and it's a hot lie. You need about 2 tablespoons more water, I would add 3 plus a little, beat it, then add more if it's needed at the end.
So what I wound up doing:
6 teaspoons meringue powder (2 tablespoons)
9 tablespoons water (plus a little extra, plus a little more at the end if you need it)
4 cups confectioners sugar
1/2 teaspoon cream of tartar
2 teaspoons almond extract, maybe a little more
Food coloring
The recipe cut in half, if you want to do two colors, that's what I did:
3 teaspoons meringue powder
4 tablespoons water (plus some)
2 cups confectioners sugar
1/4 teaspoon cream of tartar
1 teaspoon almond extract (taste it, add more if you want)
Food coloring
This is an egg separator. Isn't it cute?! My mom got it this summer when we visited my cousin in North Dakota. I might have to order myself one. They had a lot of really cool stuff there.
You can order yours here from Prairie Fire Pottery in Beach, North Dakota in if you want!


These cookies were the first ones I made. The ones that never hardened. They still tasted good, but the icing was pretty runny and hard to decorate with.


This was the second batch. The one with egg whites and cream of tartar.

Third batch. Didn't take many pictures, but I got really frustrated and this happened at one point.

So there ya have it. I didn't want to use a recipe for royal icing with cream of tartar or meringue powder because I didn't know what they were, but lesson learned, you really need to use them if you want your icing to turn out. I'll keep working on it and keep you updated!
XOXO Ness
No comments:
Post a Comment